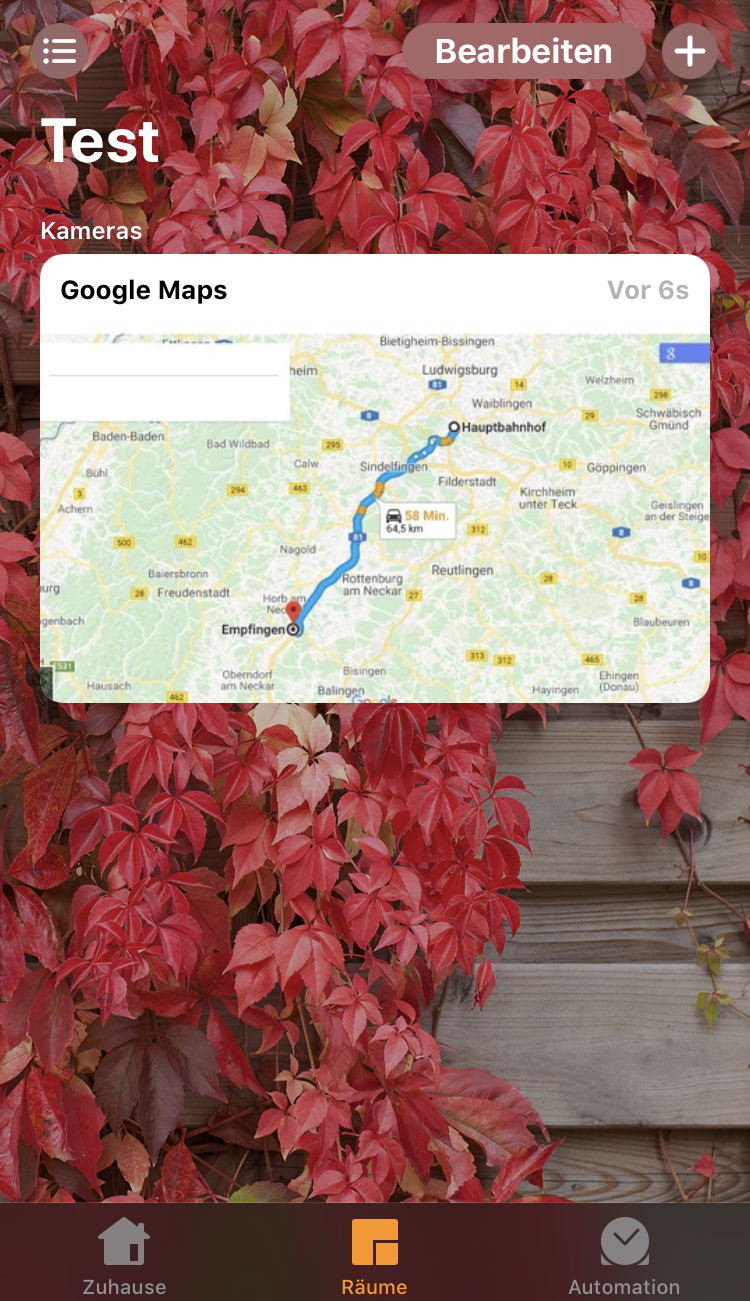
Homebridge plugin for displaying a Website (intended for Google Maps-->Traffic) as Camera
If you find my work useful you can buy me a coffee, I am very thankful for your support.
Installation
Make sure you have Homebridge installed.
Download the latest Chromium sudo apt-get install chromium-browser
Verify the Chromium installation by running chromium-browser, output should be similar to (chromium-browser:30533): Gtk-WARNING **: cannot open display
Install this plugin using: sudo npm install -g homebridge-website-to-camera
Update your Homebridge config.json using the sample below (append in the block 'platforms' not 'accessories')
id unique(!) identifier for that specific camera (optional)
url the URL of the website that is to be captured (required)
scale HomeApp requests a (device dependent) size for the preview-image.
With e.g. scale set to 2 (default) the virtual browser window is set to this size. Best is to skip this field.
OR width / height the width/height of the virtual browser window. This is optional and overrides scale.
chromiumPath path to chromium-executable (defaults to "/usr/bin/chromium-browser")
timeout timeout in ms for waiting until the page has no more pending requests. resembles to puppeteer.goto() (defaults to 10000 --> 10s)
renderTimeout timeout in ms for waiting AFTER the page has loaded before taking the screenshot. userful for PWAs. (defaults to 1ms)
ignoreHTTPSErrors ignore HTTPS errors, useful for self-signed certificates (defaults to false)
cacheTime will cache the image for the given time (in seconds) and a new screenshot will be created only if the time since the last screenshot is bigger than the given time
jsFile specify the full path of a custom JS-file that will be injected to the page (e.g. if you want to hide cookie-banners)
live enabled live mode to use with ffmpeg plugin (defaults to false). See below!
liveSnapshotInterval takes a screenshot of the website in the specified interval (in milliseconds). 1000 is a good value to start with.
liveRefreshInterval how often the page should be reloaded in live-mode (in milliseconds). If live mode is not enabled the page will be opened every time a screenshot is taken so refreshing is not needed.
livePort when live is set to true, this will be the port where the live server is running (defaults to 8554). make sure you use a free port especially if you have multiple cameras.
Usage
In some cases, the camera is not visible in Home-App:
Press + on top right corner in Home-App
Press Add device
Press Code missing
Select Camera
Provide the code from Homebridge startup output (as stated in your config.json)

 客服电话
客服电话
 APP下载
APP下载

 官方微信
官方微信


请发表评论